GLUTEN FREE IRISH SODA BREAD
Ingredients
- 275 g Gluten Free Bread Flour I used Doves Farm Flour which is popular here in the UK. Have some extra flour on hand to flour your work surface.
- 75 g Oats
- 2 teaspoon Xanthum Gum Found in the free-from section in most supermarkets
- 3 teaspoon Bicarbonate of Soda
- 0.5 teaspoon Citric Acid This can be substituted with cream of tartar
- 2 tbs Soft Brown Sugar
- 1 teaspoon Fine Sea Salt
- 300 ml Buttermilk
- 100 ml Water
Instructions
- Place a cast iron pot (dutch oven) into a cold oven and preheat to 190c
- Sieve and mix the flour, oats, xanthum gum, soda, citric acid and sugar in a mixing bowl until everything is combined together nicely.
- Make a well and mix the buttermilk and water to form a sticky dough. At this stage, it will be quite sticky, but we will add more flour so we can work with the dough.
- Turn the dough out onto a well-floured surface. There should be enough flour to coat the dough so it’s no longer sticky and it can be moulded into the shape of a round loaf. Unlike regular Irish soda bread, you can work and knead the dough until you get the required firmness as there is no gluten to overwork.
- Before I put the bread in the cast iron pot, I place my shaped loaf on a piece of baking paper to prevent any sticking and it makes it easier to transfer it the pot.
- With a knife, cut a cross into the bread as this allows the bread to cook evenly and help the bread rise and split in the correct places. I’ve seen different ways of doing this, but the way that works best for me is to make cuts in quarters throughout the bread dough. I don’t go all the way to the middle and I leave a small section of un-cut dough in the centre. There is no right or wrong way, but this is how I do it.
- After 40 minutes, remove the lid and let the bread cook for 10 minutes longer uncovered.
- The bread should have an internal temperature of about 90-95c so you know its cooked. But 50 minutes in the oven should do the trick.
- Allow the bread to cool down on a wire rack before cutting. Enjoy!
Nutrition
About the recipe

This gluten-free soda bread recipe is becoming a staple breakfast in our house at the weekend. I have made soda bread many times before, but they were always of the gluten variety. As we are slowly reducing the amount of gluten we consume, it was only a matter of time before I reviewed how I made my soda bread.
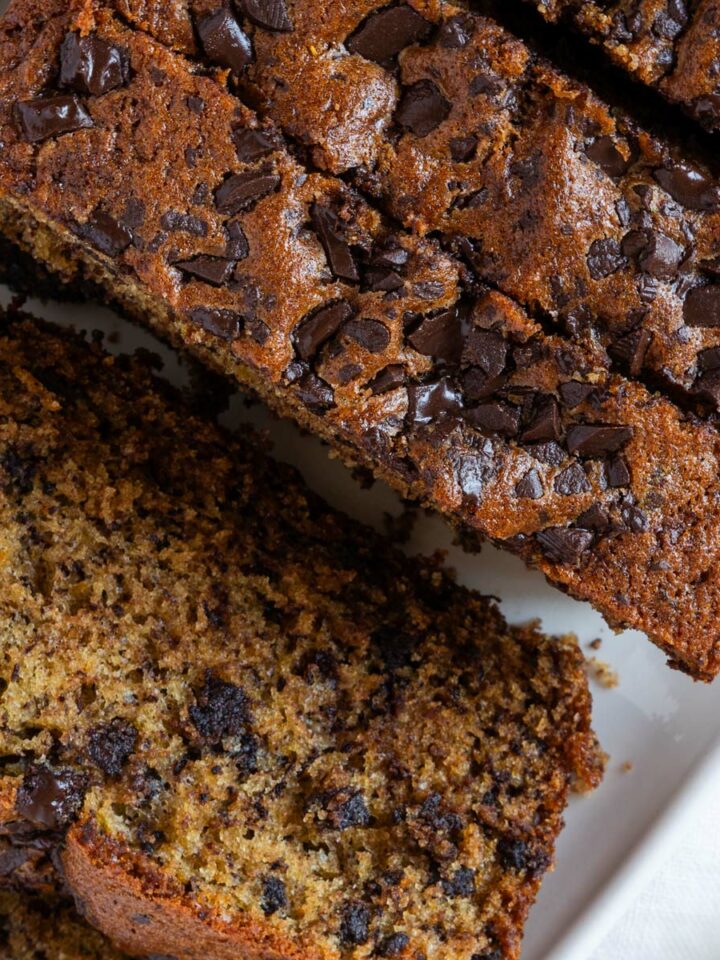
As you can see from the pictures, you would never be able to tell that this was a gluten-free version.
Knowing that gluten-free recipes generally have issues with being, dry, crumbly, dense and heavy, I researched many different recipes, and in the end, my recipe is a combination of a what I found through my research.
To combat the bread being dry and crumbly, I wanted a high hydration dough and extra xantham gum. To ensure that the bread would rise properly, sufficient raising agent is needed.
To give the final bake a good appearance, I baked the dough in a cast iron pot as this is commonly done with sourdough bread. Due to the bread cooking in a small enclosed space, there is more convection heat, and the lid traps the hot steam so the bread can rise as much as possible before the crust begins to form.


Sally says
Absolutely fantastic recipe, real tasty ?
Johanna says
Hello!
I didn't put the 2 tsp of Xanthum Gum as there was already some in the Doves Freee flour. Was that a wrong move?
The dough was still so wet at Step 4. It was pretty much liquid so I had to add a lot of flour.
A photo of the consistency would be great. Hopefully it'll come out of the oven delicious anyway. But I'd rather not do the same mistake again.
Chris says
Hi Johanna,
Thanks for trying our recipe and sharing your thoughts.
Having the extra xanthan gum (on top of what's already in the flour) helps with the consistency, but this is a relatively wet dough. It's much stickier than regular soda bread dough.
When I turn this out on to the counter I always make sure I have lots of flour to help shape it, but it's not for incorporating into the dough to make it less sticky.
My wife is actually looking to update the recipe as she wants to make the dough easier to work with. We will be sure to include pictures so you can check the consistency while you are making it.
Watch this space!